-
 GNAL
GNAL -
 filmless
 -
 SoundtrackOptical
 -
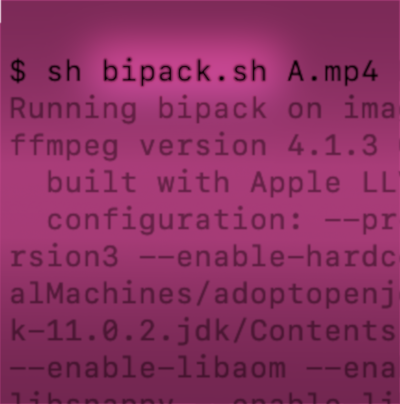 bipack
 -
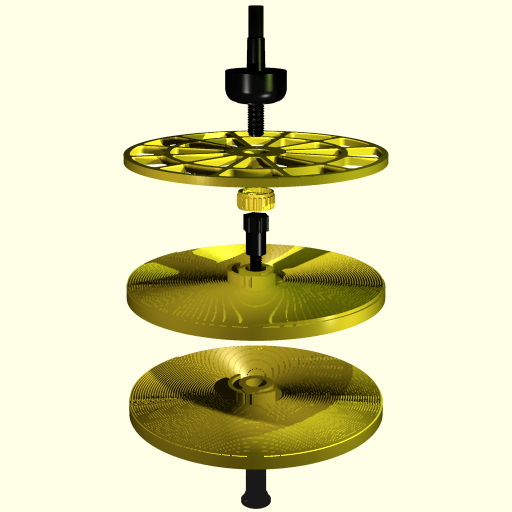
 bellows_generator
 -
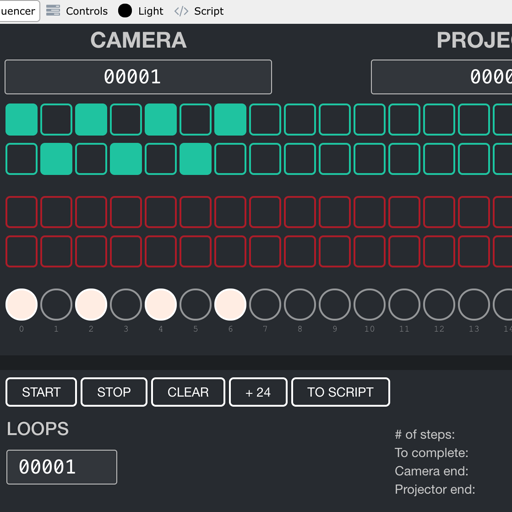
 v2f
v2f -
 tools
tools -
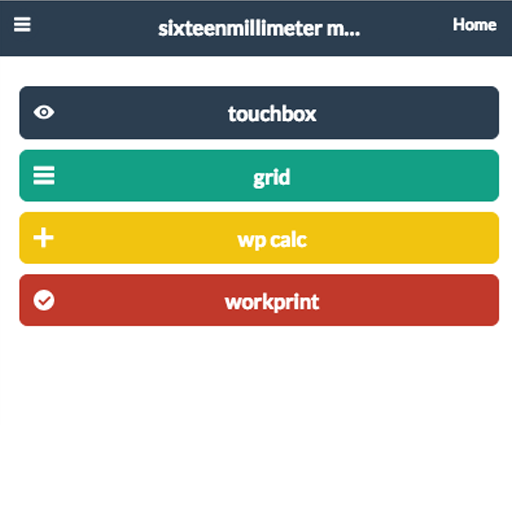
 mcopy
mcopy -
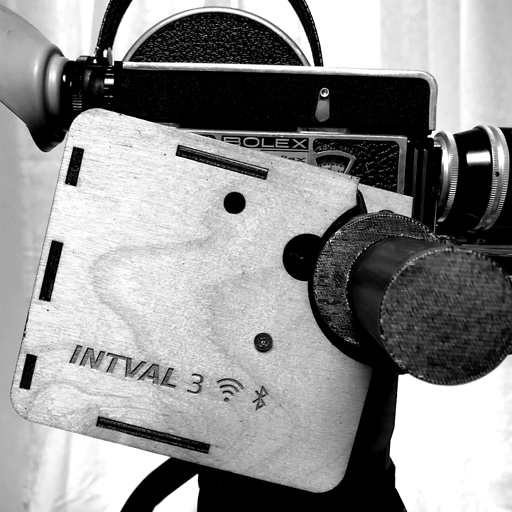 intval3
 -
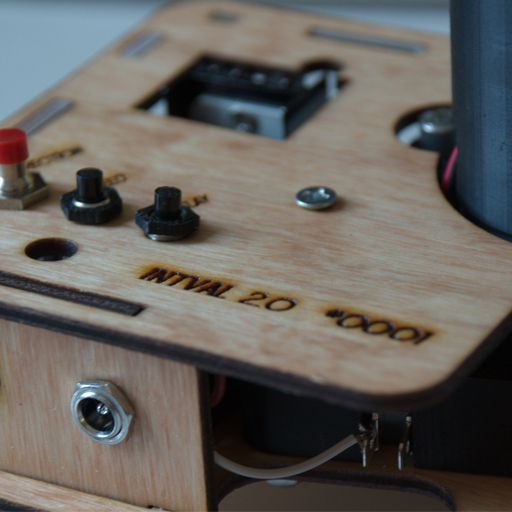 intval2
 -
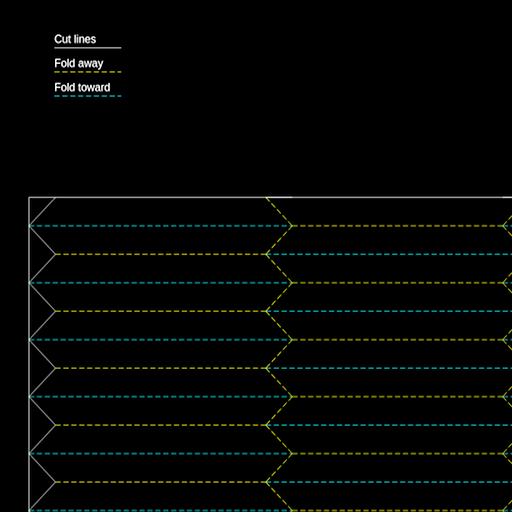
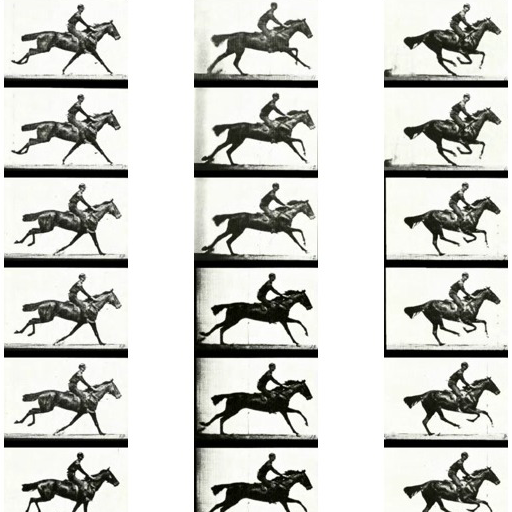
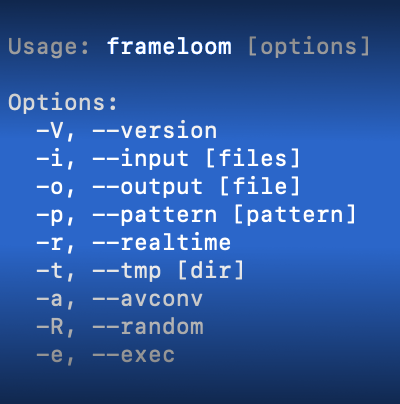 frameloom
 -
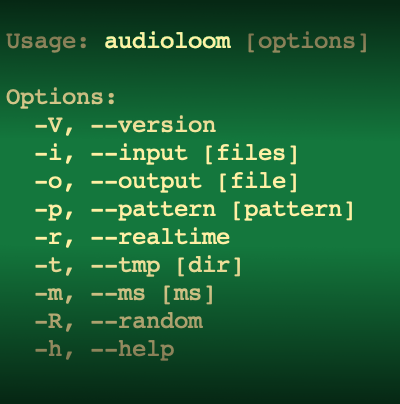 audioloom


-
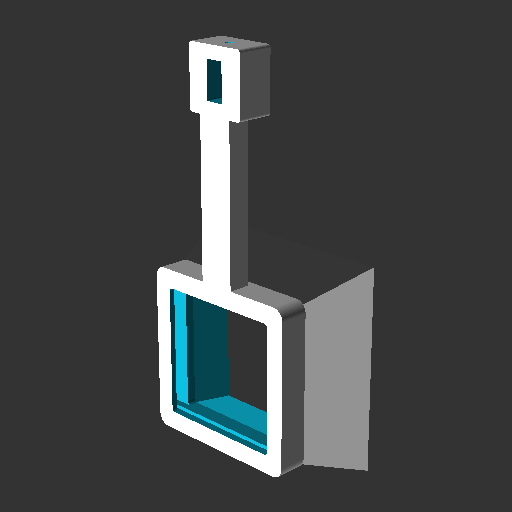
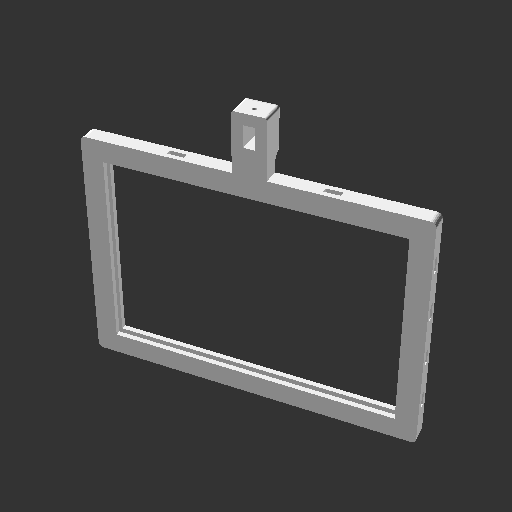 bolex matte boxby Lindsay McIntyre
 -
 hot shoe mount
 -
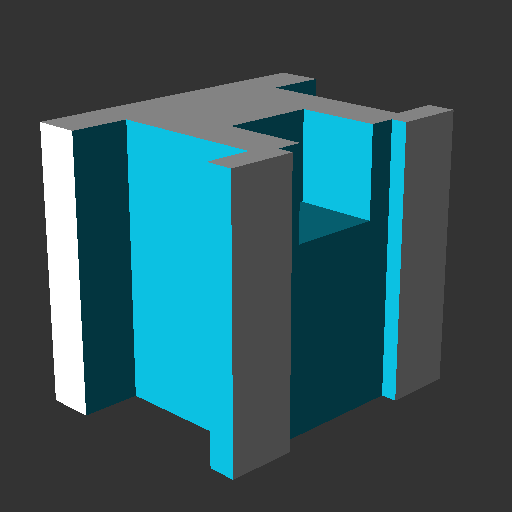
 bolex matte insert
 -
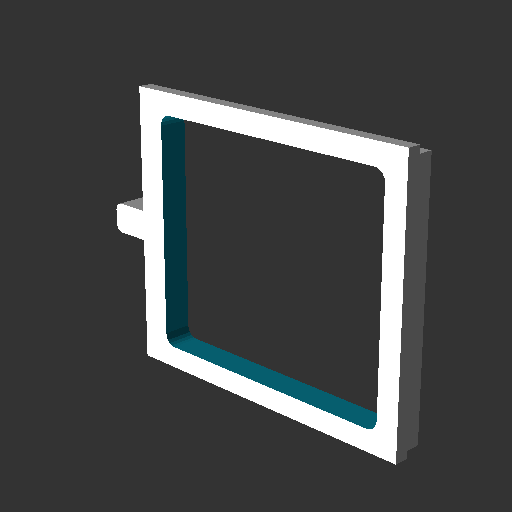
 bolex matte box
 -
 16mm splicing block
 -
 three hole peg bar
 -
 acme peg bar
 -
 bolex quick release
 -
 16mm plate
 -
 s8 3in core
 -
 s8 2in core
 -
 3in core full
 -
 3in core
 -
 2in core full
 -
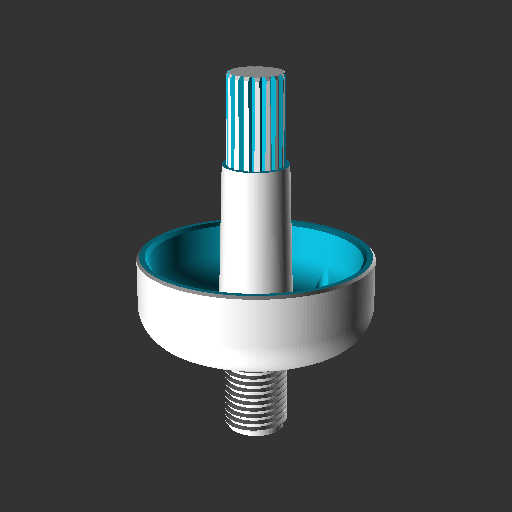
 minolta16 tank reel top
 -
 minolta16 tank reel
 -
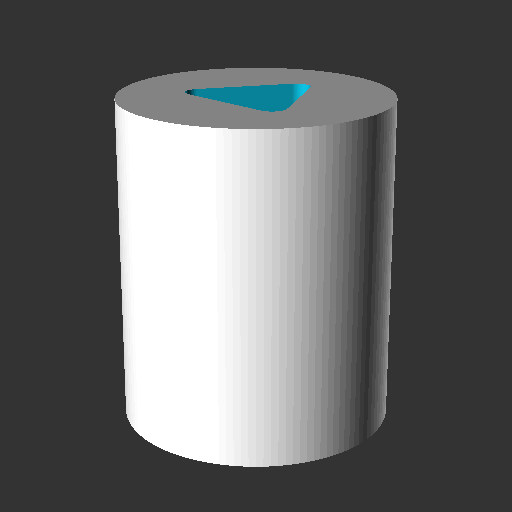
 minolta16 tank cover
 -
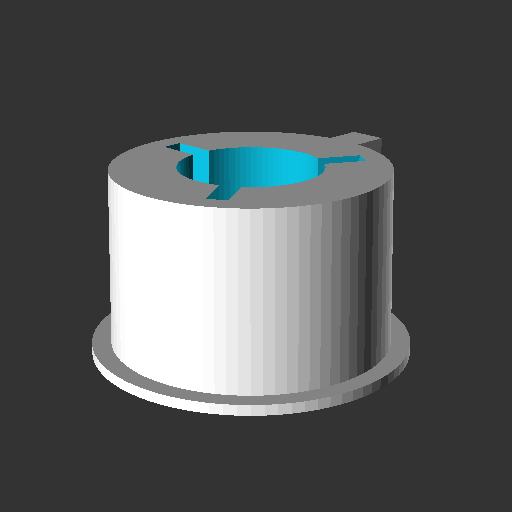
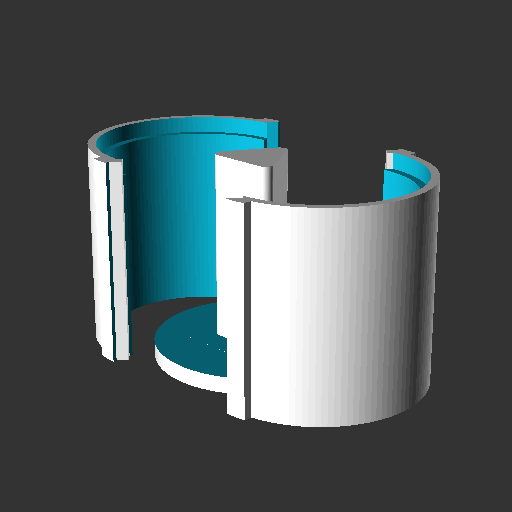
 minolta16 tank
 -
 minolta16 cartridge
 -
 minolta16 cart takeup
 -
 minolta16 cart cover
 -
 minolta16 cart case
 -
 cmount bellows adapter
 -
 steenbeck notch detector
 -
 s8 16mm reel adapter
 -
 s8 16mm core adapter
 -
 rubber stopper jk projector mold
 -
 rubber stopper jk projector
 -
 lomo spindle top
 -
 lomo spindle bottom
 -
 film drying rack
 -
 elmo cl sprocketed roller sprocket disc
 -
 daylight spool mount
 -
 core adapter
 -
 contact printer snoot
 -
 cmount rear cap
 -
 cmount extension tubes
 -
 bolex rewind key handle
 -
 bolex rewind key
 -
 bolex rail mount
 -
 2in core
 -
 16mm sprocketed roller


